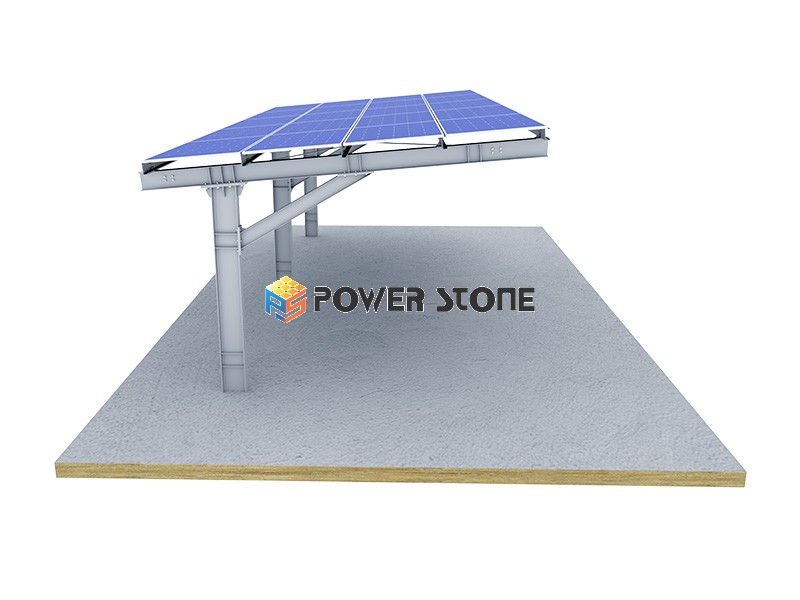
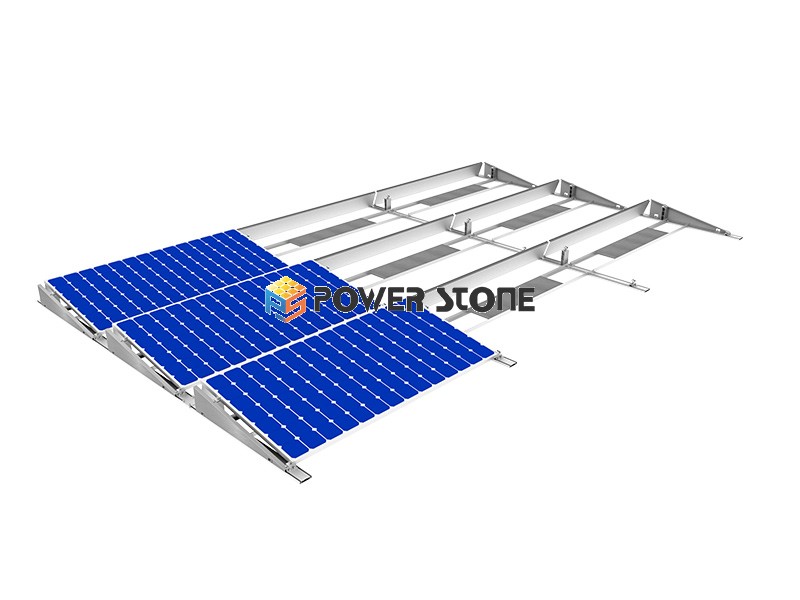
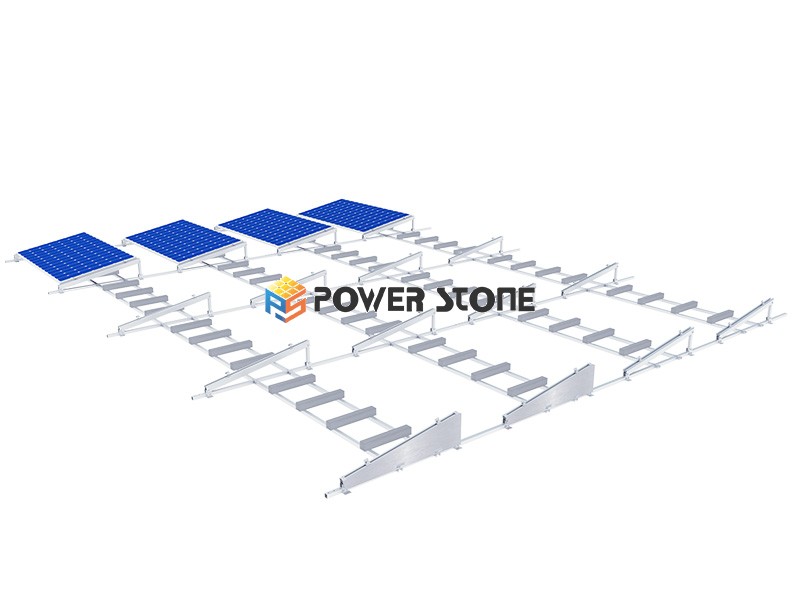
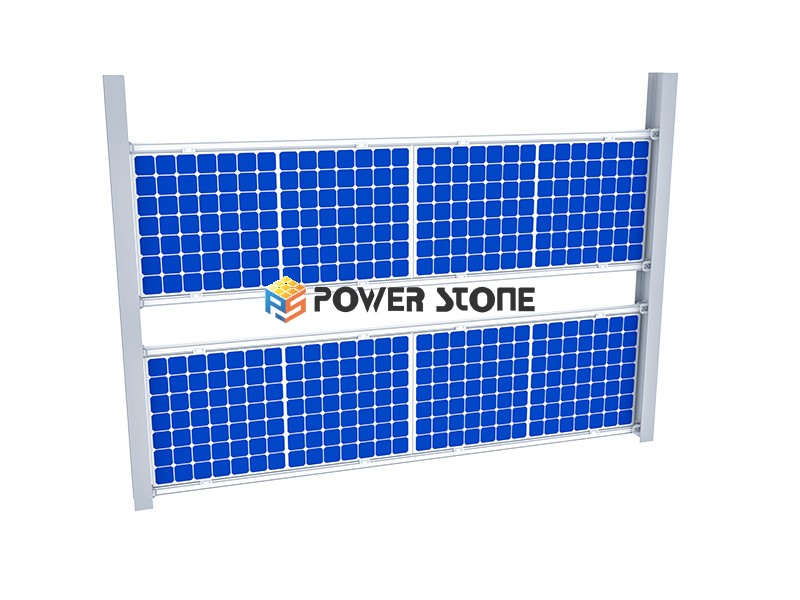
The Cement Pier Tripod Solar Mounting Systems are suitable for outdoor or flat roofs with large loads.
The structural diagram is as follows:

A-Concrete pier Load, bearing parts As the foundation of the base, it plays the role of load-bearing and fixing
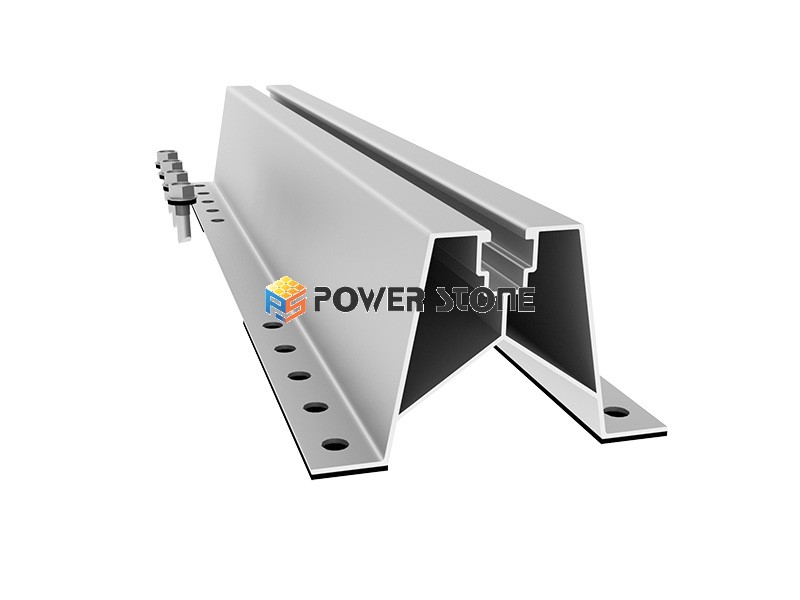
B-Angle Steel, Bottom beams which are used to form the main support frame
C-Angle Steel, Back Beams which are used to form the main support frame
D-Angle Steel, Inclined Beams which are used to form the main support frame
E-Angle Steel, Rear Brace which are used for supporting beams
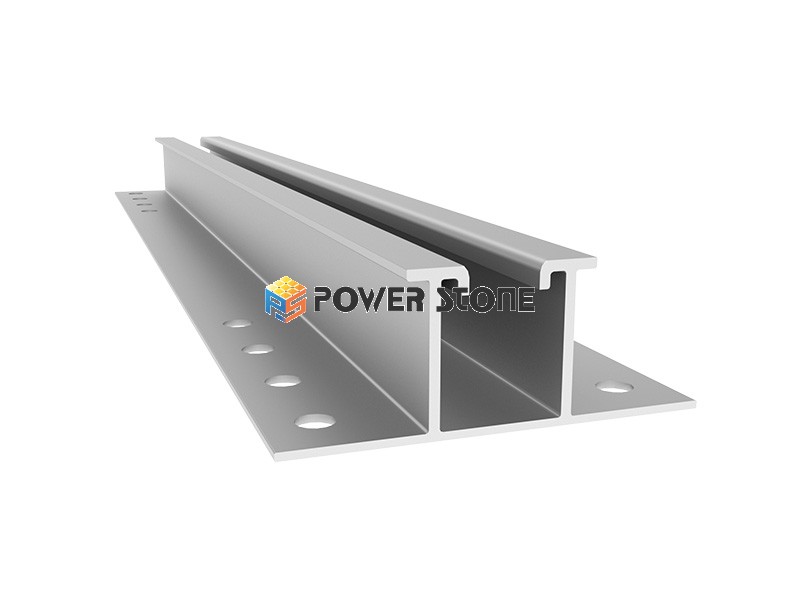
F-C steel beam which are used to fix and support photovoltaic modules
G-Angle Steel, Tie Rod which are used to connects the beam as a whole
H-End Clamp and Middle Clamp, which are used to fix the photovoltaic module
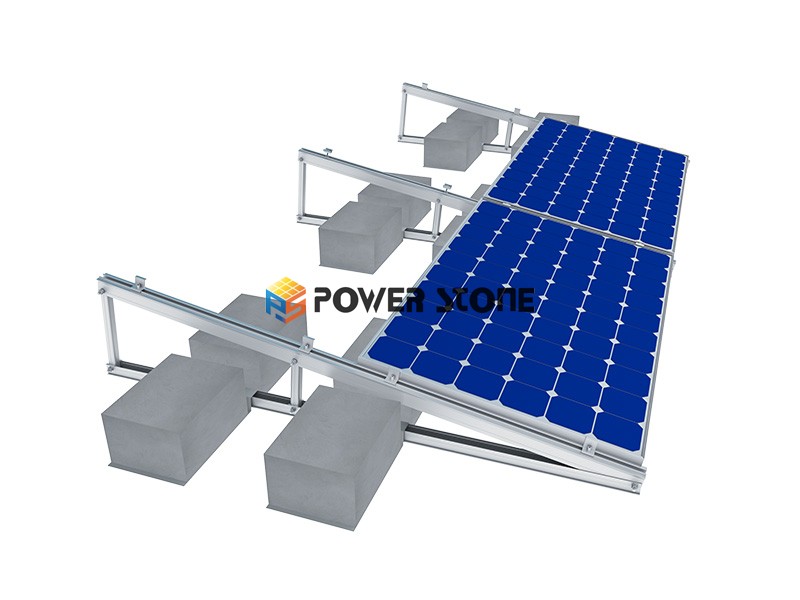
The components are composed as follows:

Installation steps:
1. Prefabricated load-bearing cement piers;
2. Lay cement piers on the flat roof, and the spacing shall be arranged according to the PV layout.

3. Install the Angle Steel Bottom Beam on the cement pier;
4. Use the hexagonal bolts to connect the angle steel back beam and the angle steel inclined beam and fix them with the angle steel bottom beam.

5. Install all the structures in turn;
6. Install the crossbeam, fix it with a combination of hexagonal bolts, and add a stop washer inside the crossbeam;
7. Install the C-shaped steel beam on the triangular bracket in turn;

8.Install the rear brace on the triangular back beam to connect it with the beam, and fix it with hex bolts; when connecting with the beam, add a stop washer.

9.Connect the two beams with angle steel tie rods at the center of each span, and fix them with hexagonal bolts and stop washers.
(When the span is less than 3000mm, the span is not equipped with tie rods and rear diagonal braces)

10. Insert the long nut into the beam, move it to the appropriate position, and fix the component with the Mid & End Clamp.
(Left: installation of side pressure block; right: installation of middle pressure block)
11.When the C-shaped steel beam needs to be lengthened, it is connected with the Beam Splice, and fixed with the Hexagonal Bolt and the Stop Washer.

12.Fix the rest of the PV modules in turn.


A706, Lingyun Onyx Building, No. 652, Hu'an Road, Huli District, Xiamen City, Fujian Province
Email : Sales@powerstone-tec.com
Email : Connie.Dong@powerstone-tec.com